The application in 6 steps
The use of the UniBieger® is very simple and can be carried out by any worker without any prior knowledge.
The steps are explained simply using the following 6 pictures.
![](http://www.unibieger.com/cdn/shop/files/UNIBIEGER_BEND_-_1_d6c3952e-b951-4da2-b690-4bea13d7762d.jpg?v=1702480154&width=1500)
Step 1
Preparation and positioning
The UniBieger® is positioned in the appropriate width on the sheet metal sheet to be bent.
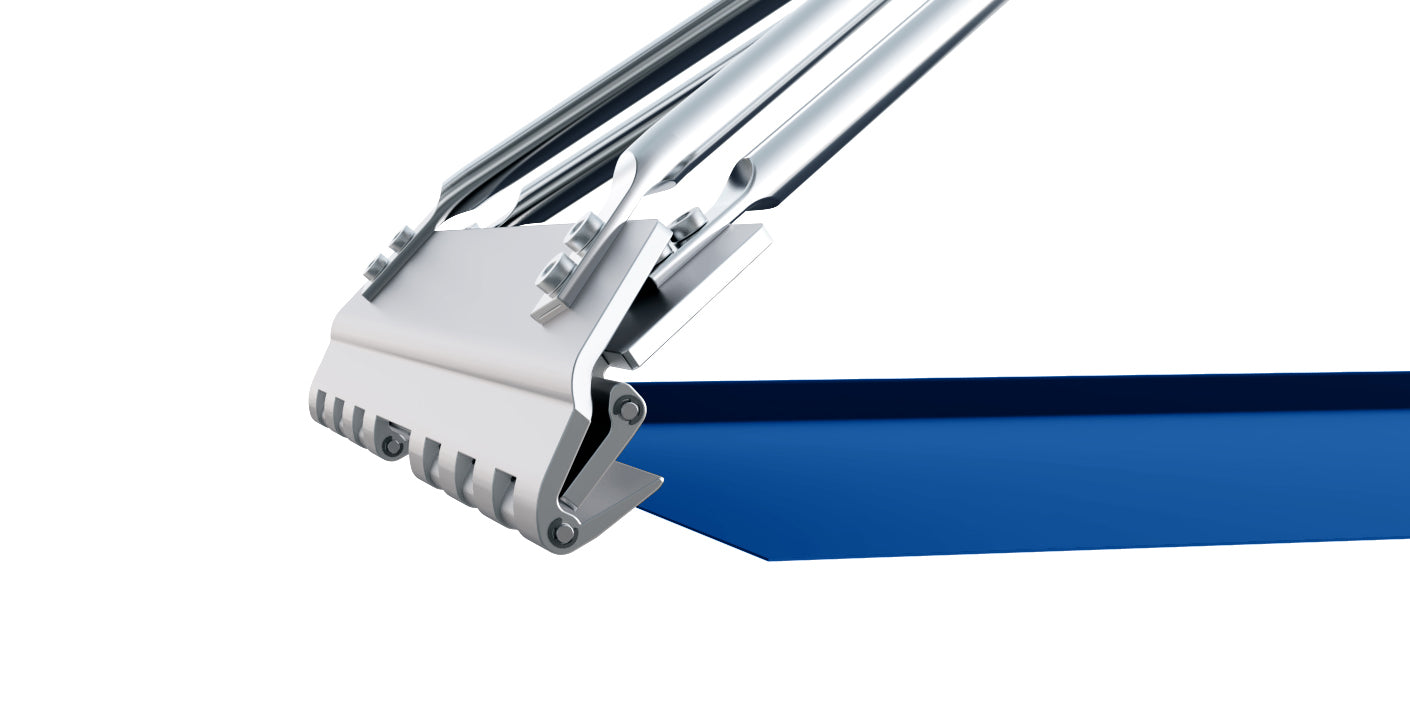
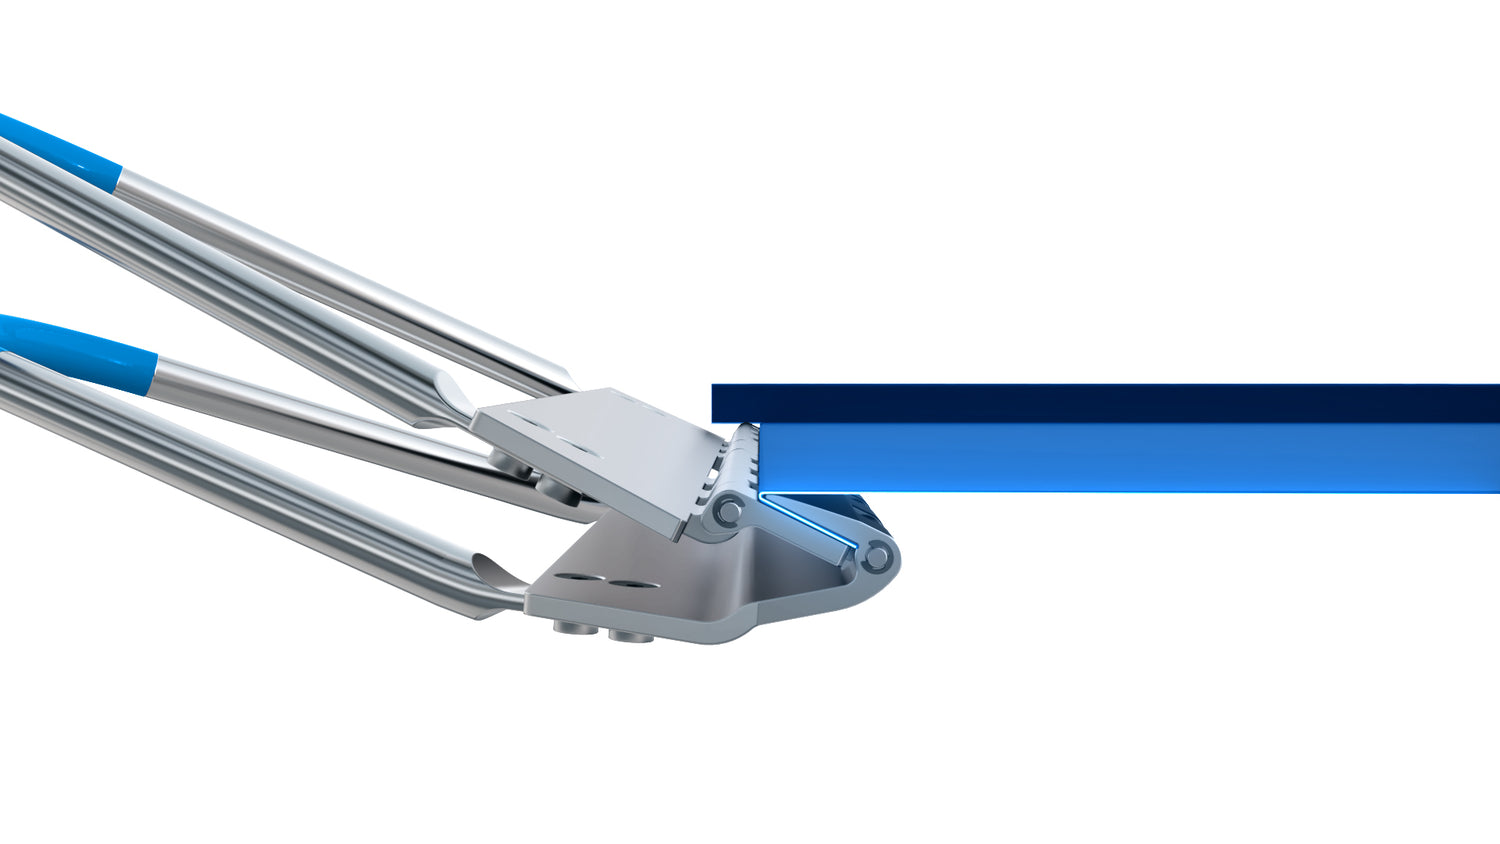
![](http://www.unibieger.com/cdn/shop/files/UNIBIEGER_BEND_-_2.jpg?v=1702202701&width=1500)
step 2
Attach to the sheet metal sheet
Attach the UniBieger® to the prepared sheet metal sheet.
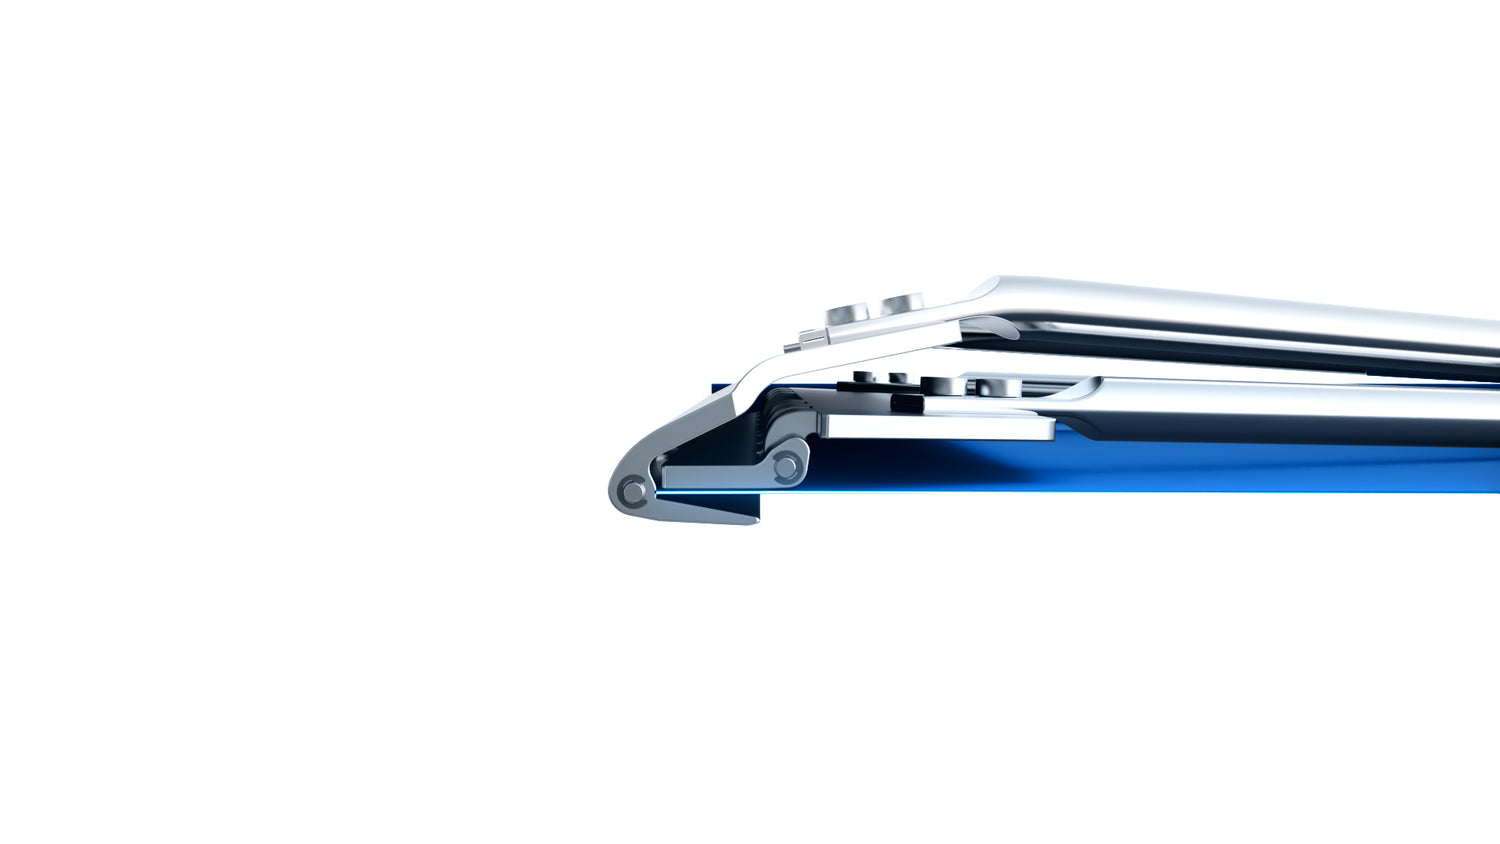
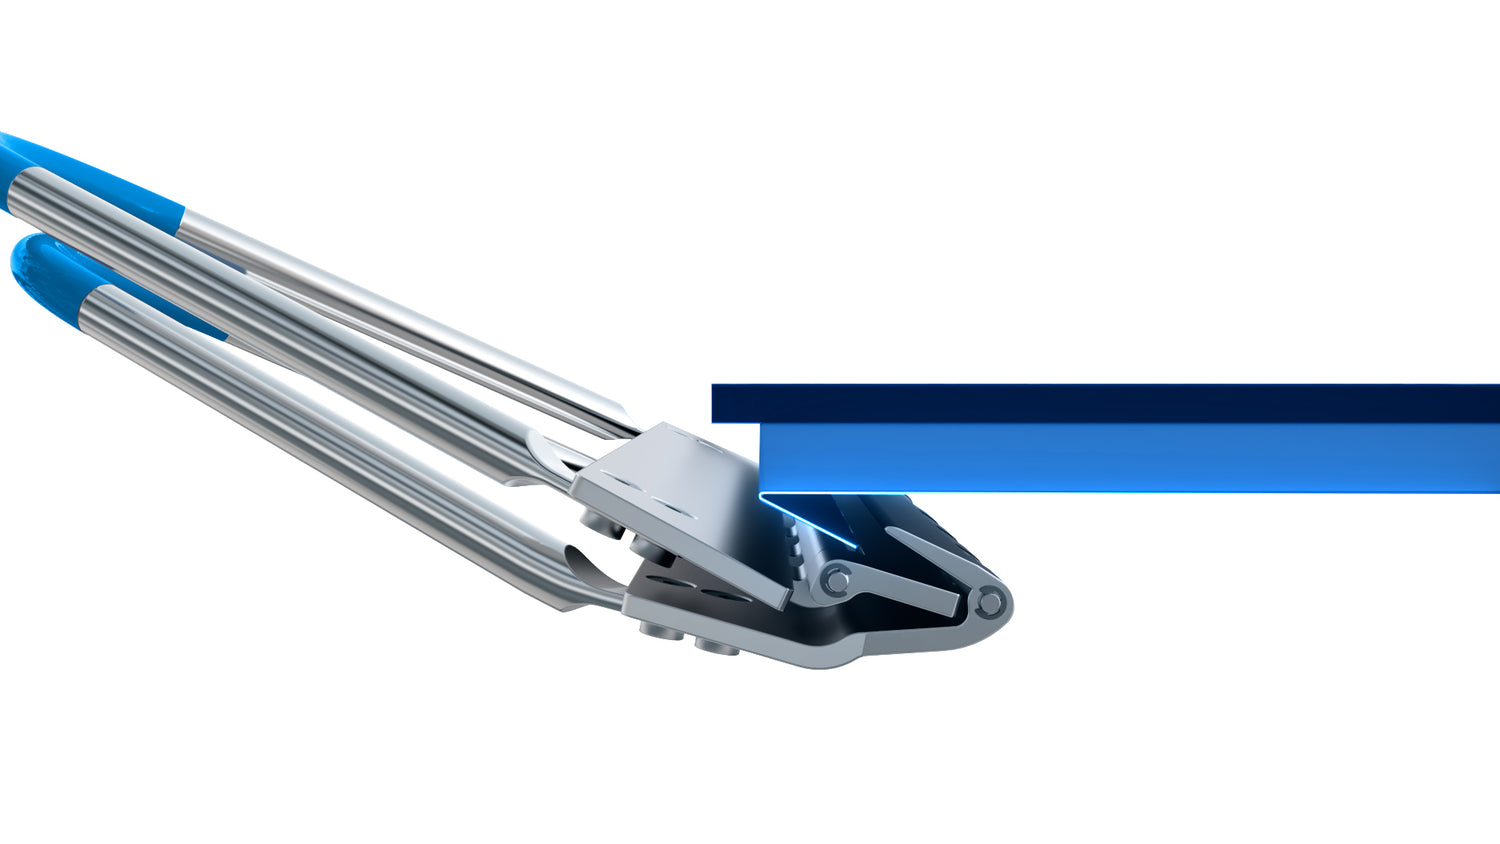
![](http://www.unibieger.com/cdn/shop/files/UNIBIEGER_BEND_-_3.jpg?v=1702202701&width=1500)
step 3
Clamping the sheet metal sheet
The upper handle is raised until the material is clamped.
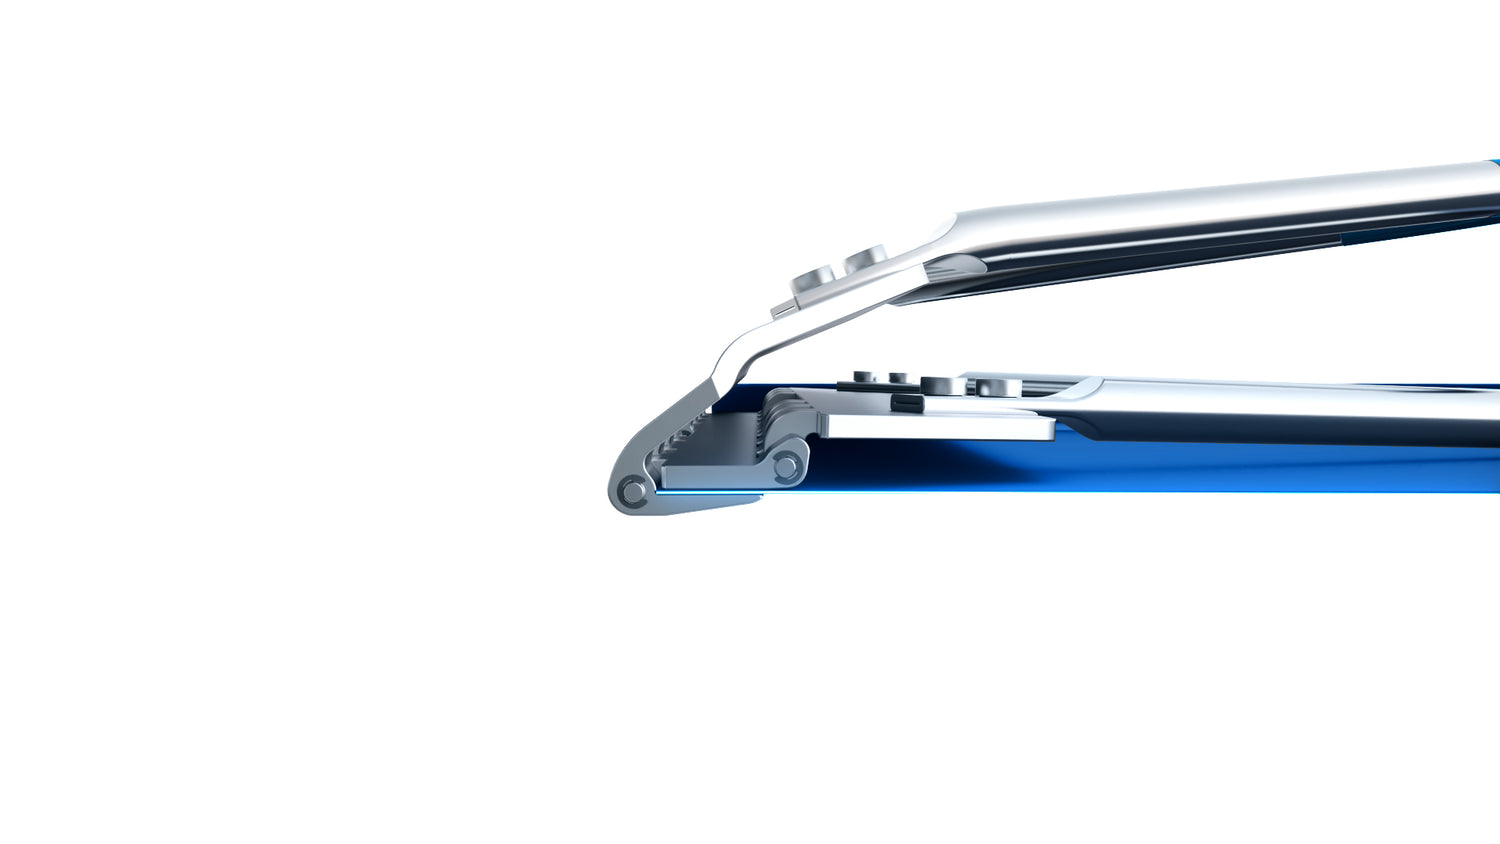
![](http://www.unibieger.com/cdn/shop/files/UNIBIEGER_BEND_-_4.jpg?v=1702202701&width=1500)
Step 4
Folding the standing seam sheet
The clamped sheet metal is bent into the final position via the second axis.
The fold is finished after this step.
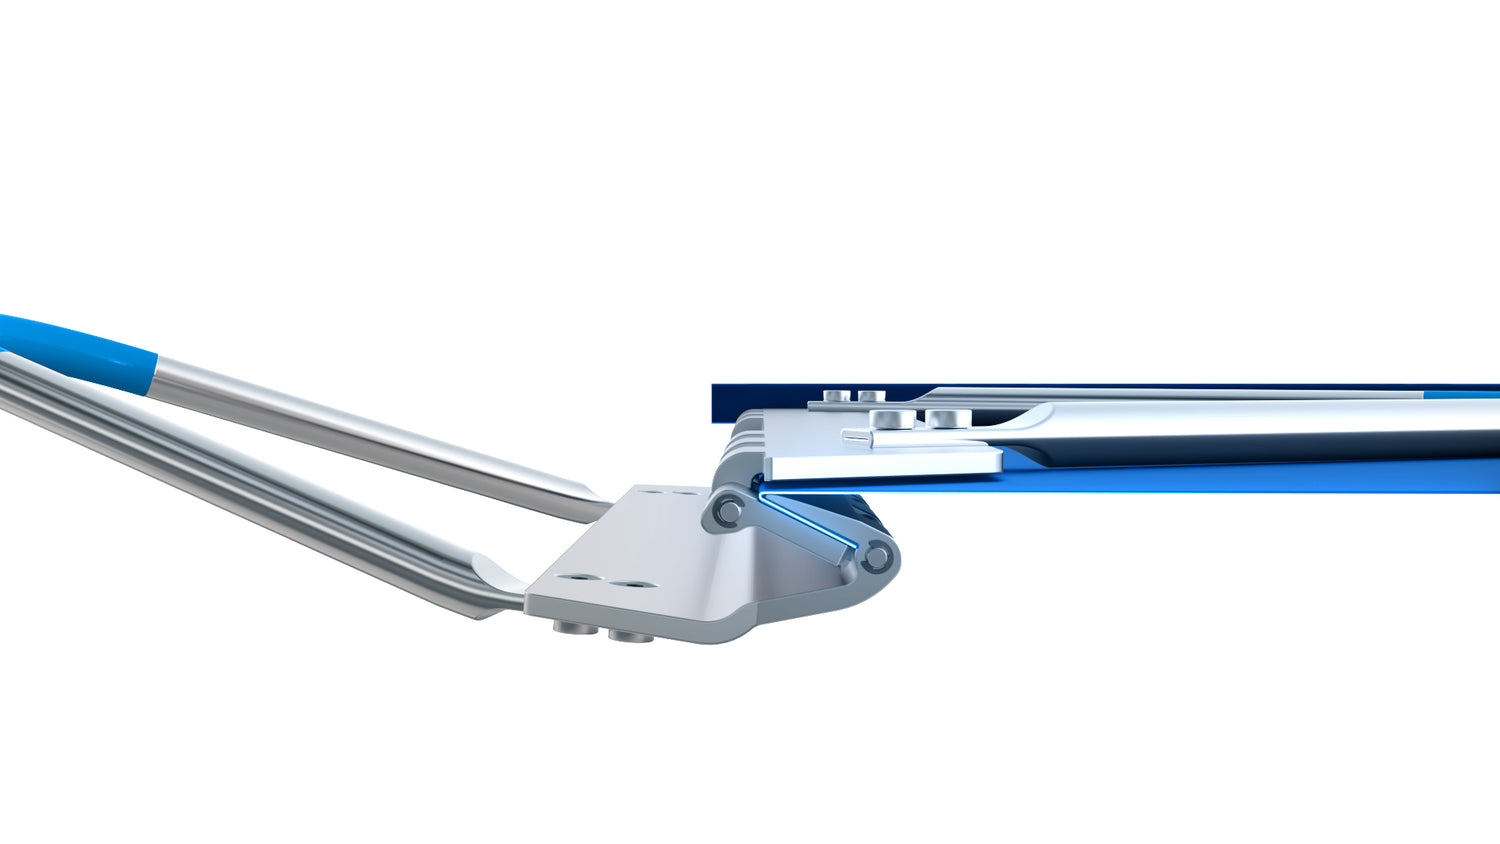
![](http://www.unibieger.com/cdn/shop/files/UNIBIEGER_BEND_-_5.jpg?v=1702202701&width=1500)
Step 5
Folding the lower handle
By lifting the lower handle, the UniBieger® opens again.
![](http://www.unibieger.com/cdn/shop/files/UNIBIEGER_BEND_-_6.jpg?v=1702202701&width=1500)
Step 6
Removing from the sheet metal sheet
The UniBieger® is removed from the fold - the folding process is completed.